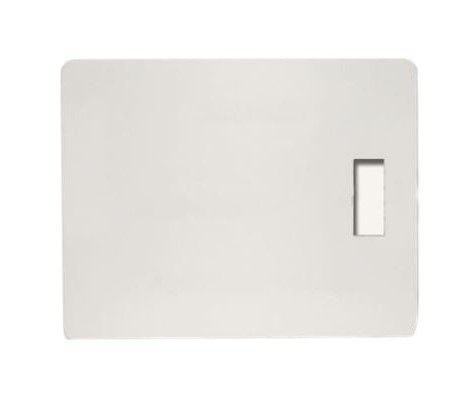
Speed Queen D510013WP Dryer Door SWS
Special Price
$93.21
Regular Price
$112.95
In stock
Available Quantity:
8
SKU
D510013WP
Product Description
The Speed Queen D510013WP Dryer Door SWS provides a safe and appropriate cover to the drying drum, which allows effective flow of air and retention of heat when in use. This element enables easy loading and unloading of the laundry and has a tight closure to avoid leakage of moisture. The door assembly fits on the front of the dryer and ensures uniform drying functionality and the general stability of the appliance in domestic laundry systems.
Manufacturer
