Speed Queen D504082 Washer Wave
$4.32
In stock
Available Quantity:
30
SKU
D504082
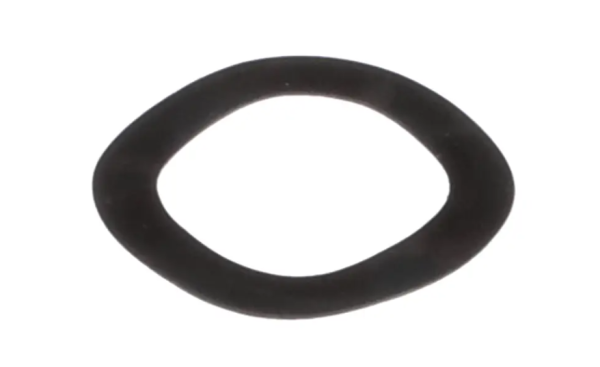
Product Description
WASHER, WAVE
Manufacturer

✓ This Product Replaces:
504082