The store will not work correctly in the case when cookies are disabled.
We collect user information to provide a better user experience and protect the security of our website. By continuing to use our website, you acknowledge the use of cookies.
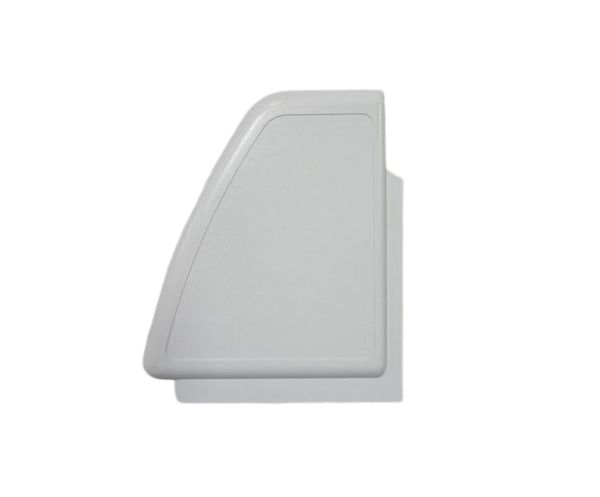
Step 1: Get Ready to Start – Ensure all required tools and parts are possessed prior to commencing your task. A Phillips-head screwdriver, pliers, and the new replacement panel will be required.
Step 2: Disconnect the Washer from Power – Before initiating any work on your washer, it should be confirmed that it is disconnected from all power sources to guarantee safety throughout the entire operation.
Step 3: Take Off the Old Panel – With the Phillips-head screwdriver, the fasteners that secure the panel in position should be unscrewed. After the screws are taken out, the panel may be carefully detached from the washer.
Step 4: Attach the New Panel – The new panel should be positioned and secured to the washer using the screws that were extracted in Step 3. It should ensure that the panel is firmly fastened and will remain secure during regular operation.
Step 5: Verify the Washer – The washer should be reconnected to a power source and its functionality tested to confirm that it operates correctly. If everything appears to be functioning well, you’re finished!
Please remember that these instructions serve as general guidance and should always be utilized alongside the manufacturer's manual, if accessible.