The store will not work correctly in the case when cookies are disabled.
We collect user information to provide a better user experience and protect the security of our website. By continuing to use our website, you acknowledge the use of cookies.
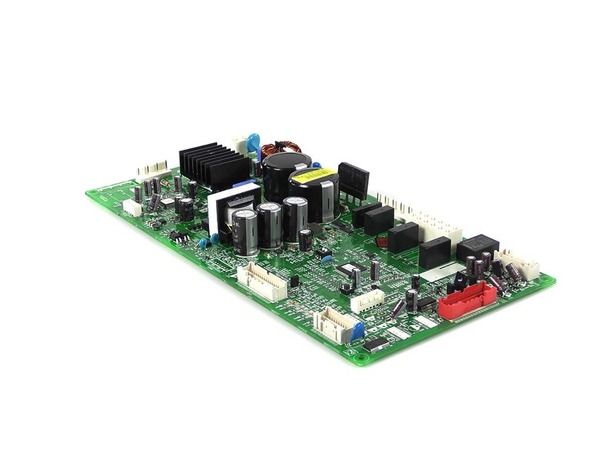
The LG CSP30021035 Service PCB Assembly is used for controlling the cooling and defrosting operations of the refrigerator. It controls the temperature data and the speed of the compressor and the fans. This makes it possible to maintain even temperature, save energy, and keep the food items in better condition as required. Increased durability and control also prolong refrigerator’s longevity and require less maintenance.
What maintenance is required for the LG CSP30021035 PCB Assembly?
Regularly inspect the refrigerator PCB assembly for dust, moisture, or loose connections. Ensure the refrigerator is powered off before handling. Clean gently with a dry, anti-static cloth, and check wiring periodically to prevent operational issues or electrical faults.
What are common issues with the LG CSP30021035 PCB Assembly?
Failure to initiate onboarding processes.
Erratic temperature sensor readings.
Communication errors with other control modules.
Power or relay malfunctions affecting the refrigerator's operation.
Installation Steps
Step1: Unplug the refrigerator for safety.
Step2: Locate the PCB housing.
Step3: Remove screws and open the cover carefully.
Step4: Disconnect wiring harnesses from the old PCB.
Step5: Install the new PCB and reconnect wires securely.
Step6: Reassemble the panel, restore power, and test operation.