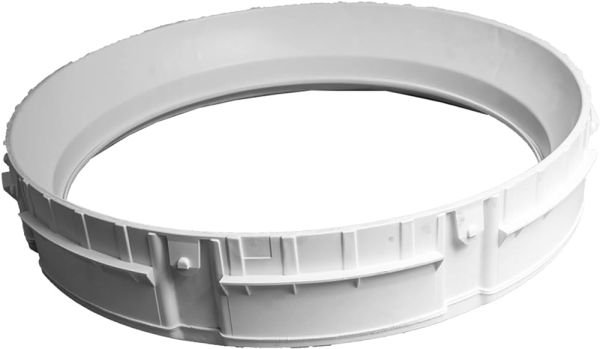
Speed Queen 39837 Washer Balance Ring Assembly-White
Special Price
$54.44
Regular Price
$54.95
In stock
Available Quantity:
44
SKU
39837
Product Description
The Speed Queen 39837 Washer Balance Ring Assembly in White is a weighted ring that is placed around the outer tub to assist in counterbalancing on spin cycles. It is placed between the inner wash basket and the outer tank and moves under a bit to damp down vibration and assist with distributing the load. During laundry, it aids the washer in better operation when it is spinning heavy or uneven loads. Its connection with the suspension system enhances the mechanical stability of the appliance and allows to maintain regular cycles.
Manufacturer
