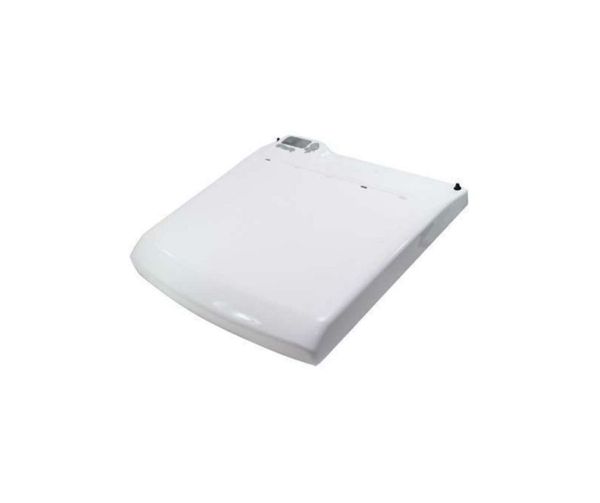
The LG AGU72925524 Dryer Top Plate Assembly can be used to fit the top part and provide it with increased durability. This serves to give support to the product and at the same time protect the internal parts from dust and other debris. It is designed to be placed on top of the dryer and provides the necessary support to the appliance. Replacing a damaged top plate enhances the performance of the dryer, minimizes the chances of wearing out, maintains the visual value of the dryer, and enhances its durability.
Step 1: Your dryer should be disconnected from the electrical outlet.
Step 2: The control panel should be detached from your LG dryer by utilizing the Phillips screwdriver to take out the two screws situated on each side of the dryer’s control console.
Step 3: The control panel should be gently elevated away from the top of the dryer. This will expose the current top plate assembly.
Step 4: The two fastening screws positioned on either side of the current top plate assembly should be extracted with your ¼” nut driver.
Step 5: The top plate assembly should be carefully lifted off the dryer and placed aside.
Step 6: The new top plate assembly (AGU72925524) should be positioned onto the dryer.
Step 7: The new top plate assembly should be fastened to the dryer by re-inserting the mounting screws that were previously removed.
Step 8: The control panel should be reattached by properly aligning it with the top of the dryer and securing it with the two screws.
Step 9: The dryer should be reconnected to its electrical outlet.
The LG dryer’s top plate assembly (AGU72925524) has now been successfully swapped out!
Please remember, these instructions serve as general guidance and should always be followed in conjunction with the manufacturer's manual, when available.