
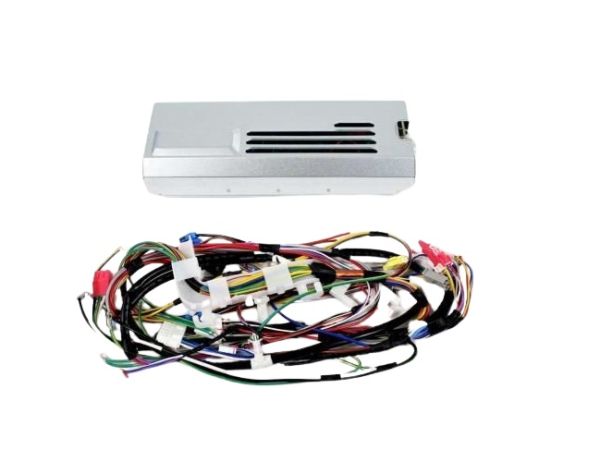
LG AGM76889607 Dishwasher Main PCB & Harness

Special Price $241.77 Regular Price $371.06
In stock
Available Quantity:   29
SKU
AGM76889607

Product Description

The LG AGM76889607 Dishwasher Main PCB & Harness handles the appliance electricity by sending and receiving signals between parts and maintaining communication in the system. It is responsible for linking to other parts, to ensure the cycles and timings are accurate.
Manufacturer

✓ This Product Replaces: EAD63647002, AGM76889603
https://www.hnkparts.com/media/catalog/product/a/g/agm76889607-10809.jpg
MANUFACTURER NAME: LGE
PRODUCT NUMBER: AGM76889607
OEM PART NUMBER: AGM76889607
PRODUCT DESCRIPTION: SWS:HARNESS+PCB+COVER+SVC SHEE

CHOOSE THE BEST HOME APPLIANCE PARTS AND SUPPLIES FROM HNKPARTS!

  • SAME DAY SHIPPING

  • BEST QUALITY AND BEST PRICE

  • WIDE RANGE OF INVENTORY

  • BEST CUSTOMER SERVICE

HAVE MORE QUESTIONS OR NEED HELP TO PLACE THE ORDER?
REACH US AT (866)723-0907 OR [email protected]

Write Your Own Review
You're reviewing:LG AGM76889607 Dishwasher Main PCB & Harness
Your Rating
Customer Questions
What maintenance is required for the LG AGM76889607 Dishwasher Main PCB & Harness?

Ensure the dishwasher is powered off and unplugged before inspection to prevent electrical hazards. Periodically check the PCB and harness for loose connections, corrosion, or damaged wiring. Keep the area dry and free from moisture or debris to avoid short circuits. Proper handling and secure connections assist in maintaining consistent performance and preventing control malfunctions.

What are common issues with the LG AGM76889607 Main PCB and Harness?

  • Dishwasher fails to start or power on.
  • Intermittent or unresponsive control panel.
  • Error codes related to communication failures.
  • Inconsistent cycle operation or sudden shutdowns.
  • Wiring harness damage is causing signal interruptions.

Installation Steps

Step1: Disconnect power at the breaker and shut off the dishwasher before servicing.

Step2: Remove the access panels and locate the existing main PCB and wiring harness.

Step3: Disconnect the old harness and PCB, then remove the mounting screws.

Step4: Install the new PCB and harness, securing all connections firmly.

Step5: Reassemble panels, restore power, and run a test cycle to verify operation.