The store will not work correctly in the case when cookies are disabled.
We collect user information to provide a better user experience and protect the security of our website. By continuing to use our website, you acknowledge the use of cookies.
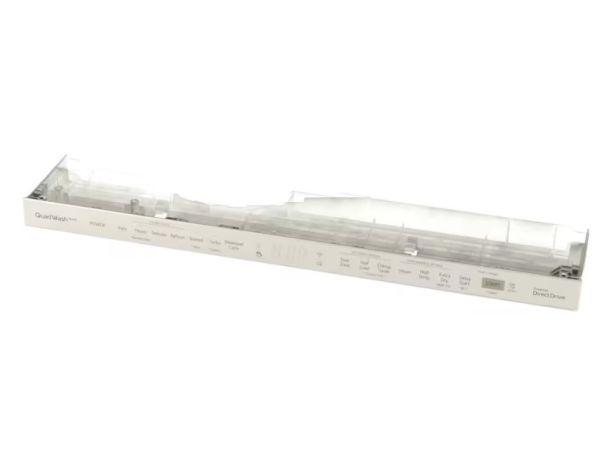
The LG AGM75469926 Dishwasher Control Panel is used to send signals to start the wash, rinse and drying functions. And it controls the water temperature and the duration of the cycle. In this way, it adjusts the operation according to the user inputs to ensure a deep clean and low energy consumption. This control panel is efficient with responsive commands, dependable operation and mode selection.
What maintenance is required for the LG AGM75469926 Control Panel?
Keep the panel surface clean to remove residue and moisture. Ensure buttons and touch controls respond smoothly. Verify all connections are secure. Operate multiple cycles to confirm consistent functionality and accurate display readings across settings.
What are common issues with the LG AGM75469926 Control Panel?
Buttons not registering inputs.
Display showing incorrect information.
Cycles starting or stopping unexpectedly.
Controls responding intermittently.
Installation Steps
Step1: Disconnect power to the dishwasher before servicing.
Step2: Open the door and remove screws securing the control panel.
Step3: Carefully separate the panel to access wiring connectors.
Step4: Disconnect wires from the old panel assembly.
Step5: Install the new panel and reconnect wiring securely.
Step6: Reattach screws, restore power, and test control operations properly.