The store will not work correctly in the case when cookies are disabled.
We collect user information to provide a better user experience and protect the security of our website. By continuing to use our website, you acknowledge the use of cookies.
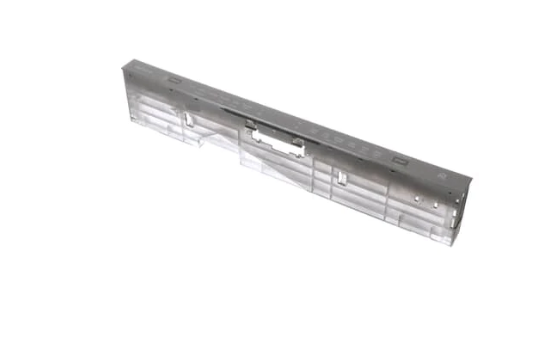
The LG AGM75469910 Control Panel & Display PCB is used in the dishwasher to enable cycle selection, setting adjustments, and monitoring of the appliance. It receives inputs from the user, issues instructions to internal parts, and manages washing and drying operations for effectiveness. The digital display is used to display the progress of the cycle and the settings to enhance the flow of the system.
What maintenance is required for the LG AGM75469910 Control Panel & Display PCB?
Regularly wipe the panel and display with a soft, damp cloth to remove residue and fingerprints. Check all connections behind the PCB for secure seating. Test buttons and touch controls periodically to ensure proper responsiveness. Avoid pressing multiple buttons simultaneously to prevent operational errors.
What are common issues with the LG AGM75469910 Control Panel & Display PCB?
Buttons becoming unresponsive.
Display flickering or blanking.
Incorrect cycle selection registering.
Cycles not starting correctly.
Installation Steps
Step1: Disconnect the dishwasher from power to prevent electric shock.
Step2: Remove the screws securing the existing control panel.
Step3: Carefully detach the panel and unplug the old PCB connectors.
Step4: Align the new control panel and connect all PCB wiring.
Step5: Secure the panel with screws and restore power.
Step6: Test all buttons and display functions for proper operation.