
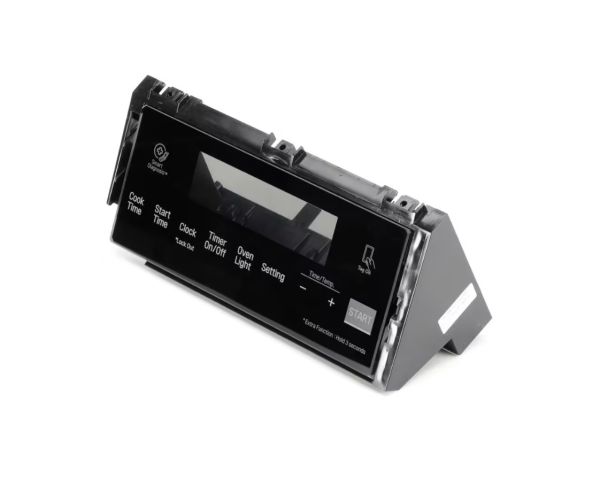
LG AGM75429208 Range Window Glass & PCB Assembly

Special Price $101.53 Regular Price $126.95
In stock
Available Quantity:   75
SKU
AGM75429208

Product Description

The LG AGM75429208 Range Window Glass & PCB Assembly combines the viewing glass of the door with the control so that the two work in the same amount. It operates by providing visibility of the cooking process and controlling the value between the internal parts and the control board. It is placed on the oven door and is secured to the frame and control area, ensuring stability that facilitates coordination of the range.
Manufacturer

✓ This Product Replaces: AGM75429201
https://www.hnkparts.com/media/catalog/product/a/g/agm75429208-17129.jpg

This Part Fits the Following Models (2)

MANUFACTURER NAME: LGE
PRODUCT NUMBER: AGM75429208
OEM PART NUMBER: AGM75429208
PRODUCT DESCRIPTION: WINDW GLAS+PCB ASM+TAPE+SUPRTR

CHOOSE THE BEST HOME APPLIANCE PARTS AND SUPPLIES FROM HNKPARTS!

  • SAME DAY SHIPPING

  • BEST QUALITY AND BEST PRICE

  • WIDE RANGE OF INVENTORY

  • BEST CUSTOMER SERVICE

HAVE MORE QUESTIONS OR NEED HELP TO PLACE THE ORDER?
REACH US AT (866)723-0907 OR [email protected]

Write Your Own Review
You're reviewing:LG AGM75429208 Range Window Glass & PCB Assembly
Your Rating
Customer Questions
What maintenance is required for the LG AGM75429208 Window Glass & PCB Assembly?

Regularly clean the glass surface with a soft, damp cloth to remove spills and grease. Inspect the PCB for dust or moisture, ensuring connections are secure. Proper maintenance prevents malfunctions and ensures safe, efficient operation. Always unplug the range before servicing.

What are common issues with the LG AGM75429208 Window Glass & PCB Assembly?

  • Glass cracking or shattering due to impact or thermal stress.
  • PCB failure causing unresponsive controls or erratic operation.
  • Loose or corroded electrical connections affecting performance.
  • Display or indicator malfunctions.

Installation Steps

Step1: Disconnect power at breaker and ensure oven is completely cool.

Step2: Remove oven door and place on padded surface; unscrew inner panel carefully.

Step3: Disconnect PCB harness, noting connector positions.

Step4: Install new glass and PCB assembly, aligning clips and mounting points.

Step5: Reconnect wiring, reassemble door, restore power and test operation.

Step6: Wear insulated gloves and verify all connections before restoring power; avoid operating if damage is visible.