The store will not work correctly in the case when cookies are disabled.
We collect user information to provide a better user experience and protect the security of our website. By continuing to use our website, you acknowledge the use of cookies.
Step 1: The washer must be disconnected from its electrical source and the water supplies leading to the washer must be turned off.
Step 2: The hot and cold water line hoses connected to the washer must be detached by grasping the fittings with pliers and carefully twisting them off. These must be set aside in a secure location to prevent any damage.
Step 3: Accessing the platform is crucial for this repair. For front load washers, the platform must be elevated. The clips or screws that attach the top panel to the rest of the appliance must be removed. The top panel must be placed aside.
Step 4: The cabinet must be gently lifted from the bottom to reach the back of the valve. The two screws securing the valve must be unscrewed. The valve must be removed.
Step 5: The old valve must be positioned alongside the new one for comparison. They should match in size, shape, and color.
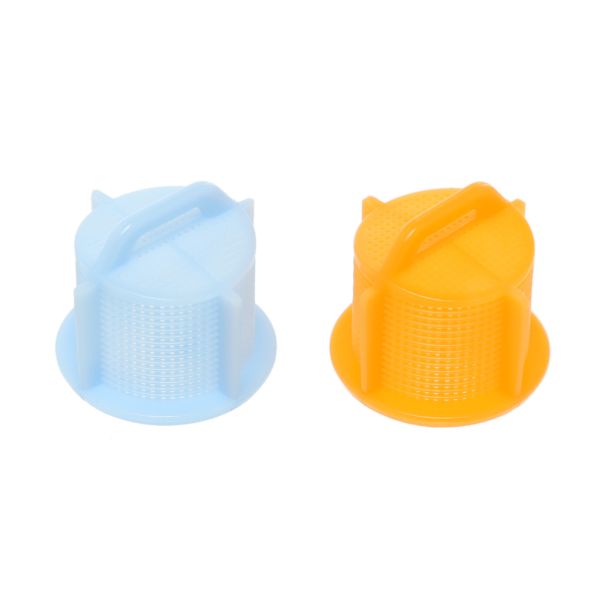
Step 6: The new filter must be placed into the specified slot within the valve. It must be ensured that it is securely fitted.
Step 7: The new valve must be positioned back into its designated location in the appliance and fastened using the mounting screws. The hot and cold water line hoses must be reconnected.
Step 8: The reverse order of the steps taken to detach the cabinet and platform access panel must be followed.
Step 9: The washer must be reconnected to the power source and the water supply must be activated. The washer must be started to verify the functionality of the new valve and filter.
Please note that these instructions are served as general guidance and should always be referenced alongside the manufacturer's manual, if available.