The store will not work correctly in the case when cookies are disabled.
We collect user information to provide a better user experience and protect the security of our website. By continuing to use our website, you acknowledge the use of cookies.
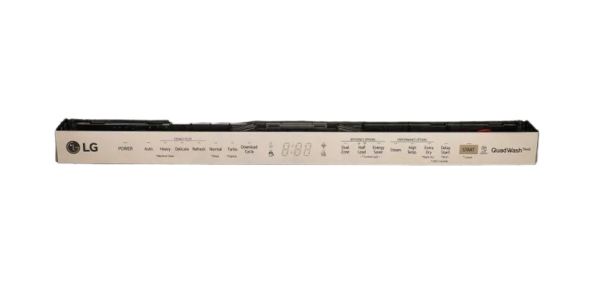
The LG AGL75172662 Control Panel makes it simple and precise to control the dishwasher. It does this by understanding user inputs and sending instructions to the dishwasher’s internal parts to manage the washing, temperature and timing for better results each time.
What maintenance is required for the LG AGL75172662 Control Panel ?
Regularly inspect the dishwasher control panel for moisture, dirt, or residue and gently clean it with a soft, damp cloth. Avoid harsh chemicals that can damage the surface or internal circuitry. Ensure buttons respond properly and connections remain secure. Proper supports to maintain accurate operation and prevents electrical or interface malfunctions.
What are common issues with the LG AGL75172662 Control Panel ?
Unresponsive or delayed button inputs.
Dishwasher display flickering or not lighting up.
Intermittent power or control failures.
Moisture intrusion causing short circuits.
Error codes due to communication faults.
Installation Steps
Step1: Disconnect power at dishwasher and shut off water supply.
Step2: Open dishwasher door and remove inner door panel screws carefully.
Step3: Disconnect old control panel wiring harness noting connector positions.
Step4: Attach new control panel aligning connectors and securing harness firmly in place.
Step5: Refit door panel and tighten screws evenly without overtightening.
Step6: Restore power and test all control operations for safety before normal use.