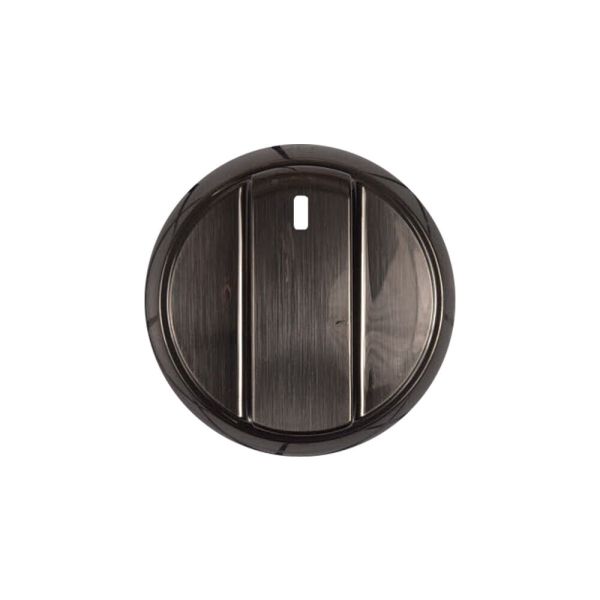
LG AEZ74533311 Range Knob Assembly
Special Price
$82.48
Regular Price
$102.95
In stock
Available Quantity:
65
SKU
AEZ74533311
Product Description
The LG AEZ74533311 Range Knob Assembly is used to control the temperature and settings of a range appliance. It works by regulating the gas or electric supply to the burner to enable the adjustment of heat when cooking. This knob assembly is simple to use and ensures that the cooking temperature is uniform. It also assists in improving the cooking result by allowing precise control of the heat levels and prevents fire. It is easy to install due to its simple design enabling a efficient replacement for users with faulty knobs.
Manufacturer
