The store will not work correctly in the case when cookies are disabled.
We collect user information to provide a better user experience and protect the security of our website. By continuing to use our website, you acknowledge the use of cookies.
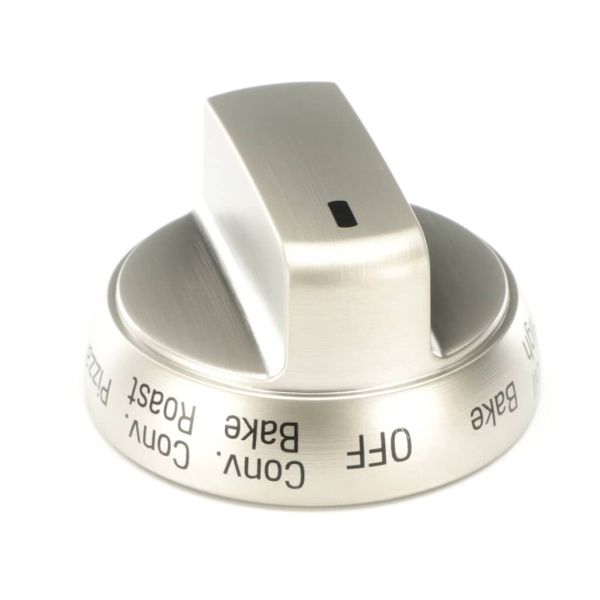
The LG AEZ74533306 Knob Assembly is used to regulate the temperature and other settings of the oven. Works by fitting itself to the oven’s control panel and enables one to simply regulate heat and cooking options by twisting it. This element came up with a simple operational manner and neat design that enables firm gripping and simple adjustments. This knob is useful in improving convenience by bringing back the full functionality of the oven while retaining its look.
What maintenance is required for the LG AEZ74533306 Knob Assembly?
Ensure all knobs rotate smoothly and click into each setting. Clean around the knobs to remove grease buildup. Inspect for looseness or wear, and verify that each knob accurately controls its respective heating element or oven function.
What are common issues with the LG AEZ74533306 Knob Assembly?
Knobs slipping or loose.
Misaligned with control panel.
Knobs sticking or difficult to turn.
Discoloring from heat exposure.
Installation Steps
Step1: Ensure the oven is off and cool before starting.
Step2: Remove the old knob by gently pulling it straight off the shaft.
Step3: Check the shaft and clean any debris or residue.
Step4: Align the new knob with the shaft correctly.
Step5: Push the knob firmly onto the shaft until fully seated.
Step6: Test all settings to confirm proper operation.