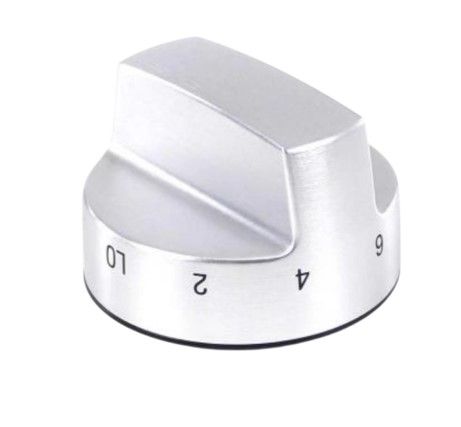
The LG AEZ74453503 Range Gas Knob Assembly provides the ability to safely and efficiently control the flames of the burner. It fits directly over the control shaft and can be easily adjusted to produce low levels of heat to high levels of heat. This knob is made of better materials, which ensures it is accurate and also fits properly in the design of the initial one. It is placed on the control panel of the cooktop, which restores the functionality and appearance of the cooktop.
Step 1: The essential tools required for the replacement of your LG AEZ74453503 Knob Assembly are to be collected. These tools include a Phillips-head screwdriver, an adjustable wrench, a putty knife, and an all-purpose lubricant.
Step 2: The Phillips-head screwdriver is to be employed to detach and take out the current knob assembly.
Step 3: Before the new knob assembly is installed, the interior is to be coated with some all-purpose lubricant. This step will facilitate smooth movement of the assembly once it is in place.
Step 4: The new knob assembly is to be inserted, ensuring that each pin within the assembly is aligned with the respective holes in the appliance.
Step 5: The knob assembly is to be fastened using the screws that were previously removed. Even pressure is to be exerted on each screw to guarantee a secure attachment.
Step 6: After the knob assembly has been installed, the putty knife is to be utilized to eliminate any surplus lubricant from the outer surface of the appliance.
Step 7: Lastly, the adjustable wrench is to be employed to tighten any loose connections, confirming that the knob assembly is firmly secured.
Please remember, these directions are to be served as general advice and should always be referenced alongside the manufacturer's manual, if it is available.