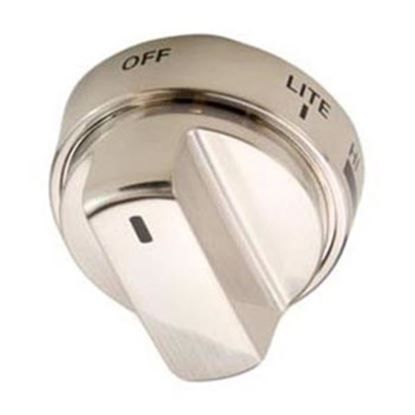
LG AEZ73453509 Range Burner Knob Assembly
Special Price
$25.86
Regular Price
$41.92
In stock
Available Quantity:
75
SKU
AEZ73453509
Product Description
The LG AEZ73453509 Range Burner Knob Assembly enables the user to set the heat as per their requirement for cooking. It rotates smoothly to adjust the burner intensity and interacts the control valve for temperature control. It is built to last, which makes it simple to grip and handle without any problem. Some of the features include simple use control dials that enhance the accuracy of cooking.
Manufacturer

✓ This Product Replaces:
AEZ73453503, AEZ73453502, AEZ73453508, AEZ72909008, AEZ72909007, AEZ73453526, AEZ73453528