
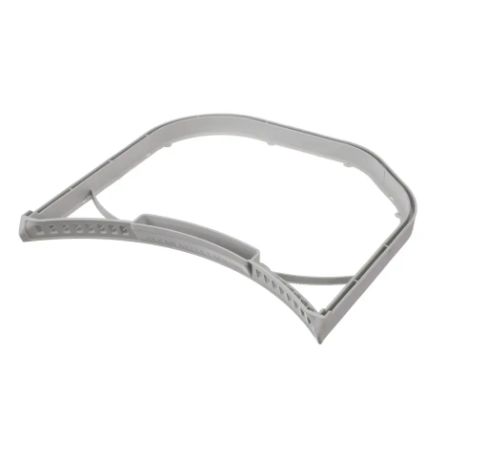
LG ADQ56656403 Dryer Lint Filter Assembly

Special Price $38.28 Regular Price $46.15
In stock
Available Quantity:   403
SKU
ADQ56656403

Product Description

The LG ADQ56656403 Lint-Filter Assembly is used to ensure the proper working of the dryer and to avoid any risk. During the operation it collects lint, dust, and fabric fibers that are produced by the clothes being dried. The fine mesh screen ensures that particles do not get into the system as they are trapped by the screen. Proper circulation of air enables the clothes to dry faster and evenly with less stress on the motor and heater.
Manufacturer

https://www.hnkparts.com/media/catalog/product/a/d/adq56656403_lge_hnkparts.png
Manufacturer Name: LGE
Product Number: ADQ56656403
OEM Part Number: ADQ56656403
Product Description: Filter Assy-Lint

Choose the best Home Appliance parts and supplies from HnKParts!

  • Same Day Shipping

  • Best Quality And Best Price

  • Wide Range of Inventory

  • Best Customer Service

Have More Questions or Need Help to Place The Order?
Reach us at (866)723-0907 or [email protected]

Write Your Own Review
You're reviewing:LG ADQ56656403 Dryer Lint Filter Assembly
Your Rating
Customer Questions
What maintenance is required for the LG ADQ56656403 Lint Filter Assembly?

Regularly remove dryer lint buildup from the filter after each drying cycle to maintain proper airflow and efficiency. Wash the filter occasionally with warm water to remove residue. Ensure it is completely dry before reinstalling. Always handle carefully to avoid damage or improper fit.

What are common issues with the LG ADQ56656403 Lint Filter Assembly?

  • Dryer Lint clogging causing reduced airflow and longer drying times.
  • Filter not fitting properly or becoming loose in the housing.
  • Tears or damage to the mesh screen.
  • Warping or cracking from heat exposure affecting performance.

Installation Steps

Step1: Unplug the dryer and ensure it is cool before starting.

Step2: Open the lint filter housing slot and remove the existing old filter carefully.

Step3: Insert the new filter assembly into the slot until it clicks securely.

Step4: Close housing, run a short cycle, and check airflow and fit.