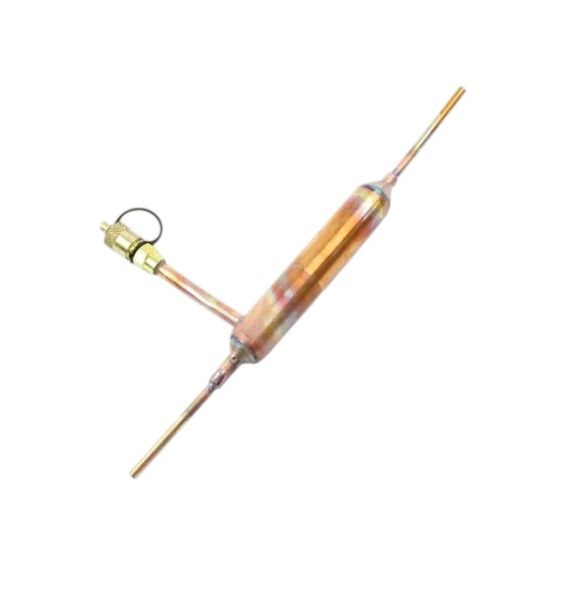
LG ADH73150208 Refrigerator Line Filter Drier
Special Price
$74.70
Regular Price
$90.23
In stock
Available Quantity:
713
SKU
ADH73150208
Product Description
The LG ADH73150208 Refrigerator Line Filter Drier removes moisture and impurities in the refrigerant in the cooling system. It operates by culling small particulates and absorbing water in the circulating refrigerant before it passes through the expansion valve and evaporator coils. It is installed in-line in the refrigerant piping system, usually between the condenser and expansion valve and attached to copper refrigerant lines with brazed or sealed fittings and ensuring that the refrigerant flows correctly and prevents system.
Manufacturer

✓ This Product Replaces:
5851JA2008X, ADH73150201, 5851JA2008W, 5851JA2007G, 5851JA2007U, 5851JA2007V, ADH73590305, ADH73590304, 5851JA2008J