
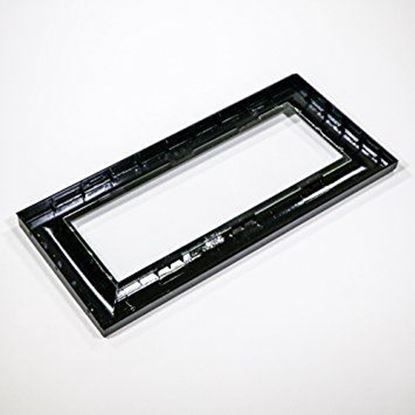
Whirlpool 8185234 Microwave Panel-Door

Special Price $163.37 Regular Price $233.21
In stock
Available Quantity:   16
SKU
8185234

Product Description

The Whirlpool 8185234 Exterior Door Panel W/Glass offers a functional and protective front surface that makes the microwave safe and efficient to use. This works by enclosing the inner door structure of the microwave in a better frame and glass forming a safe wall that traps heat and microwaves in the process of cooking. It helps in safety, energy efficiency, and restores the original look of the appliance and safeguards internal components.
Manufacturer

https://www.hnkparts.com/media/catalog/product/8/1/8185234_whirlpool_hnkparts.jpg
Manufacturer Name: WHIRLPOOL
Product Number: 8185234
OEM Part Number: 8185234
Product Description: Panel-Door

Choose the best Home Appliance parts and supplies from HnKParts!

  • Same Day Shipping

  • Best Quality And Best Price

  • Wide Range of Inventory

  • Best Customer Service

Have More Questions or Need Help to Place The Order?
Reach us at (866)723-0907 or [email protected]

Write Your Own Review
You're reviewing:Whirlpool 8185234 Microwave Panel-Door
Your Rating
Customer Questions
What maintenance is required for the Whirlpool 8185234 Door Panel?

Regularly wipe the microwave door panel with a soft, damp cloth to remove grease and fingerprints. Ensure hinges and latches are clean and unobstructed. Avoid abrasive cleaners to prevent scratches, and check for alignment to ensure smooth opening and closing.

What are common issues with the Whirlpool 8185234 Door Panel?

  • Door not closing properly.
  • Latch failure or sticking.
  • Panel cracking or chipping.
  • Misalignment affecting microwave operation.

Installation Steps

Step1: Disconnect microwave from power supply and remove mounting screws before beginning safely.

Step2: Open outer door panel carefully and support inner assembly to prevent damage or injury.

Step3: Align new panel-door with hinge and control cutouts, checking alignment points.

Step4: Secure with original screws and ensure proper latch engagement, tightening evenly.

Step5: Restore power and test door operation for smooth closing, confirming smooth operation.