
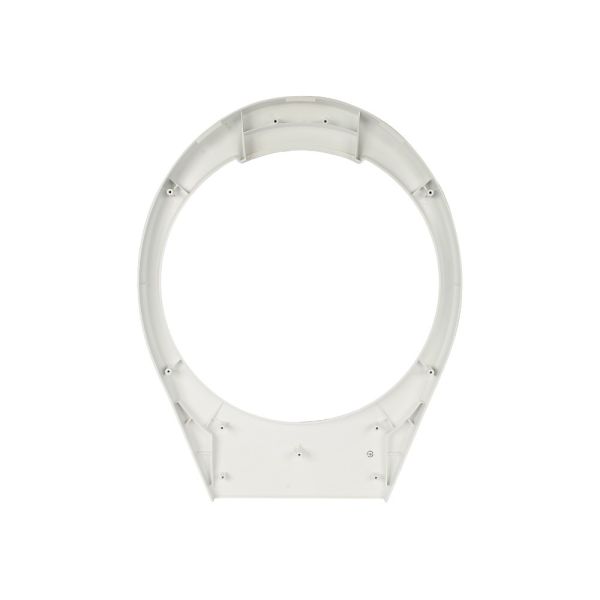
Speed Queen 808094 Washer Outer Door Bezel Kit White

$56.13
In stock
Available Quantity:   16
SKU
808094
✓ This Product Replaces: 803710WP

Product Description

The Speed Queen 808094 Outer Door Bezel Kit White is used in washers to ensure a tight fit to avoid leakage and to improve the efficiency of the washing process and functions in a manner that fixes itself on the washer door and offers a firm base on which the door rests when in use. This makes it simple to install and replace, increases the durability of the washer, and at the same time gives it a classy look.
Manufacturer

https://www.hnkparts.com/media/catalog/product/8/0/808094_speed-queen_hnkparts.png
Manufacturer Name: SPEED QUEEN
Product Number: 808094
OEM Part Number: 808094
Product Description: Outer Door Bezel White

Choose the best Home Appliance parts and supplies from HnKParts!

  • Same Day Shipping

  • Best Quality And Best Price

  • Wide Range of Inventory

  • Best Customer Service

Have More Questions or Need Help to Place The Order?
Reach us at (866)723-0907 or [email protected]

Write Your Own Review
You're reviewing:Speed Queen 808094 Washer Outer Door Bezel Kit White
Your Rating
Customer Questions
What maintenance is required for the Speed Queen 808094 Outer Door Bezel Kit?

Regularly inspect the washer bezel for cracks or loose fittings and gently wipe it clean with a damp cloth to prevent grime buildup. Ensure it is securely attached to avoid operational issues. Avoid chemicals that may damage the finish.

What are common issues with the Speed Queen 808094 Outer Door Bezel Kit?

  • Cracking or chipping of the bezel.
  • Loosening or detachment from the washer door.
  • Scratches or discoloration from frequent use.
  • Misalignment affecting door closure.

Installation Steps

Step1: Unplug washer and shut water supply, ensuring machine is cool.

Step2: Open door and remove existing bezel screws/trim carefully.

Step3: Detach damaged bezel carefully from door panel without forcing.

Step4: Align new bezel with mounting points accurately.

Step5: Secure with screws and ensure seal/fit is tight.

Step6: Reconnect power, restore water, and test door closure.

Step7: Verify alignment and check for leaks during cycle.