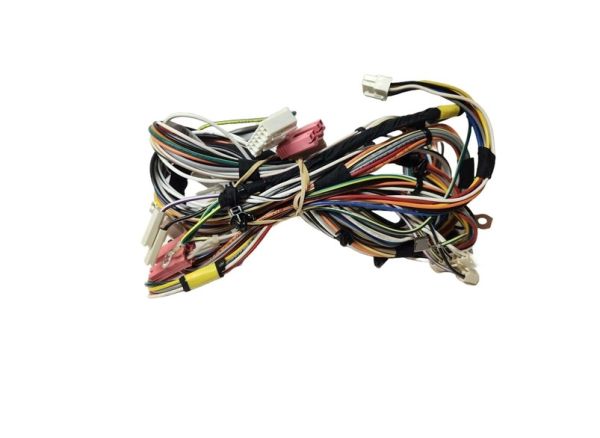
The Speed Queen 806031 Washer Flow Control Harness sends electrical signals to control water flow in wash cycles. It is an electronic component installed in the washer cabinet, and it links the control panel to valves and sensors that control the flow of water. The harness is fitted in the compatible models of washers and its routing is organized and the connections are stable.
Step 1: To begin, the electrical supply to the Speed Queen 806031 HARN.CNTRL FLW.FC control board is removed by disconnecting the washer from the wall socket.
Step 2: The control board, which is positioned on the machine's upper right side, is found.
Step 3: The screws or clips securing the board are taken out and it is carefully extracted from the appliance.
Step 4: After the board is removed, the wires attached to it are identified and they are detached. It is essential to remember which wires are connected to which terminals, as this will facilitate the installation of the new control board.
Step 5: The new control board is inserted into the machine and the wires are reconnected, ensuring they are attached to the appropriate terminals.
Step 6: The board is fastened using the screws or clips that were previously taken out.
Step 7: Lastly, the washer is reconnected to the wall outlet, making sure the power switch is in the “on” position.
Step 8: The washer’s operation is verified to confirm the new board is functioning correctly.
Please note that these instructions are served as general guidance and should always be followed in conjunction with the manufacturer's manual, if it is available.