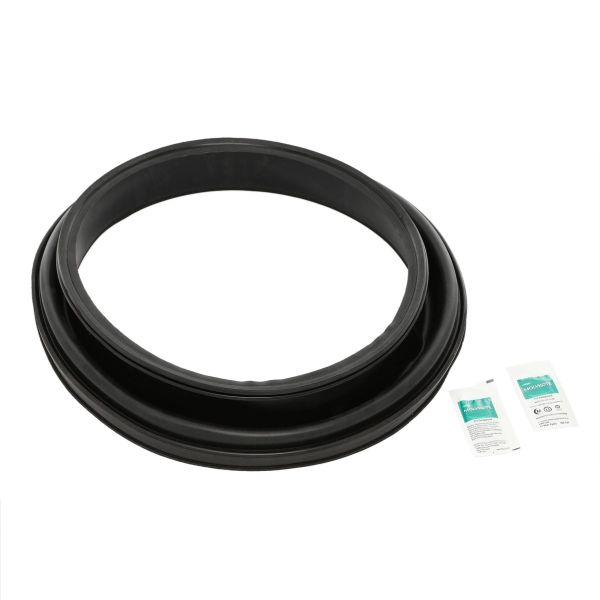
Speed Queen 804428P Dryer Black Door Seal Assembly

Special Price $121.65 Regular Price $148.95
In stock
Available Quantity:   172
SKU
804428P

Product Description

The Speed Queen 804428P Dryer Black Door Seal Assembly forms a tight seal that prevents leaking heat and lint. It operates by creating a close seal of the dryer door opening so that it keeps the airflow constant throughout the drying process. This assembly assists in the maintenance of the proper internal temperature balance, which assists in the effective moisture removal.
Dryer Door Seal,
Manufacturer
https://www.hnkparts.com/media/catalog/product/8/0/804428p_speed_queen_hnkparts.jpg
Manufacturer Name: SPEED QUEEN
Product Number: 804428P
OEM Part Number: 804428P
Product Description: Assy, Door Seal (Black) -

Choose the best Home Appliance parts and supplies from HnKParts!

  • Same Day Shipping

  • Best Quality And Best Price

  • Wide Range of Inventory

  • Best Customer Service

Have More Questions or Need Help to Place The Order?
Reach us at (866)723-0907 or [email protected]

Write Your Own Review
You're reviewing:Speed Queen 804428P Dryer Black Door Seal Assembly
Your Rating
Customer Questions
What maintenance is required for the Speed Queen 804428P Door Seal Assembly?

Regularly inspect the door seal for cracks, tears, or debris buildup. Wipe it with a damp cloth to remove lint and dust. Proper maintenance ensures an effective seal, preventing heat loss and improving dryer efficiency. Avoid harsh chemicals to protect the rubber integrity.

What are common issues with the Speed Queen 804428P Door Seal Assembly?

  • Air leaks reducing drying efficiency.
  • Rubber cracking or tearing over time.
  • Seal detachment from the door frame.
  • Lint accumulation causing incomplete closure.

Installation Steps

Step1: Disconnect dryer from power supply and ensure drum is cool.

Step2: Open dryer door and remove old seal carefully from edge.

Step3: Clean mounting surface thoroughly to remove lint and adhesive.

Step4: Align new seal with door frame and press firmly into place.

Step5: Secure all clips evenly around the perimeter.

Step6: Reassemble door and restore power, checking for proper seal.

Step7: Run empty cycle to verify installation and check for leaks.