The store will not work correctly in the case when cookies are disabled.
We collect user information to provide a better user experience and protect the security of our website. By continuing to use our website, you acknowledge the use of cookies.
Step 1: Your washing machine should be disconnected from the power source and ensured that it is completely turned off.
Step 2: The rear of your washing machine should be examined to find the screws that fasten the back panel. The screws should be detached, kept aside, and the panel should be removed.
Step 3: The four mounting screws situated on the front of the washing machine should be identified. These screws should be positioned at both the top and bottom of the washer drum, securing the front outer tub.
Step 4: A wrench should be utilized to detach the mounting screws and the outer tub should be removed from the washing machine.
Step 5: Any debris or lint within the washer should be cleared out, particularly around the mounting holes.
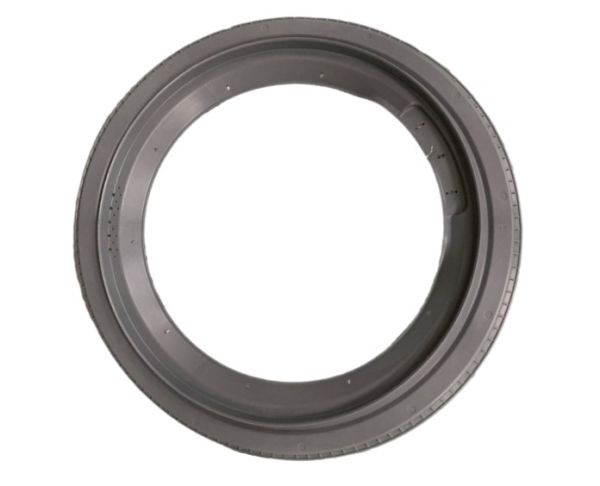
Step 6: With the new Speed Queen 803770 outer tub, it should be confirmed that all mounting holes align properly.
Step 7: When everything is aligned, the four screws should be placed into the mounting holes and secured using the wrench.
Step 8: The back panel should be reattached and fastened with the screws that were previously removed.
Step 9: The washing machine should be powered on and a test should be performed to verify that everything operates correctly.
Please remember, these directions are intended for general guidance and should always be referenced alongside the manufacturer's manual, if available.