
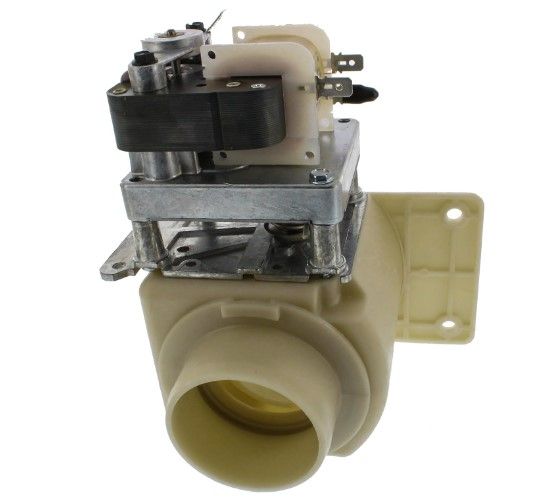
Speed Queen 803292P Washer Drain Valve Gravity 2-Inner Diameter

Special Price $236.45 Regular Price $305.95
In stock
Available Quantity:   28
SKU
803292P

Product Description

The Speed Queen 803292P Washer Drain Valve is used to control the flow of water to the drain pipe to enhance the efficiency of the washing process and designed for washers and comes with an inner diameter of 2 inches and the water does not clog. Works through the force of gravity to expel the wastewater out of the machine and this does not require the use of a pump.
Manufacturer

✓ This Product Replaces: F380619, 803292
https://www.hnkparts.com/media/catalog/product/8/0/803292p-44690.jpg
MANUFACTURER NAME: SPEED QUEEN
PRODUCT NUMBER: 803292P
OEM PART NUMBER: 803292P
PRODUCT DESCRIPTION: VALVE,GRAV DRAIN 2"ID 220V N

CHOOSE THE BEST HOME APPLIANCE PARTS AND SUPPLIES FROM HNKPARTS!

  • SAME DAY SHIPPING

  • BEST QUALITY AND BEST PRICE

  • WIDE RANGE OF INVENTORY

  • BEST CUSTOMER SERVICE

HAVE MORE QUESTIONS OR NEED HELP TO PLACE THE ORDER?
REACH US AT (866)723-0907 OR [email protected]

Write Your Own Review
You're reviewing:Speed Queen 803292P Washer Drain Valve Gravity 2-Inner Diameter
Your Rating
Customer Questions
What maintenance is required for the Speed Queen 803292P Drain Valve Gravity?

Regularly inspect the washer drain valve for blockages, debris, or buildup. Clean with mild detergent and water to ensure proper drainage. Check connections for leaks, tighten fittings if necessary, and always disconnect power before performing maintenance for safety.

What are common issues with the Speed Queen 803292P Drain Valve Gravity?

  • Valve failing to open or close fully.
  • Leaks around the connection points..
  • Slow or incomplete drainage.
  • Debris clogging the valve mechanism.

Installation Steps

Step1: Disconnect all electrical power before starting to avoid shock.

Step2: Shut off inlet water valves and release trapped pressure in lines.

Step3: Carefully remove old drain valve assembly without damaging surrounding components.

Step4: Clean mounting area and inspect seals or gasket surfaces.

Step5: Install new valve align gasket secure fittings tightly.

Step6: Reconnect hoses tighten clamps securely ensuring proper alignment.

Step7: Restore water and power then test for leaks before full operation.