The store will not work correctly in the case when cookies are disabled.
We collect user information to provide a better user experience and protect the security of our website. By continuing to use our website, you acknowledge the use of cookies.
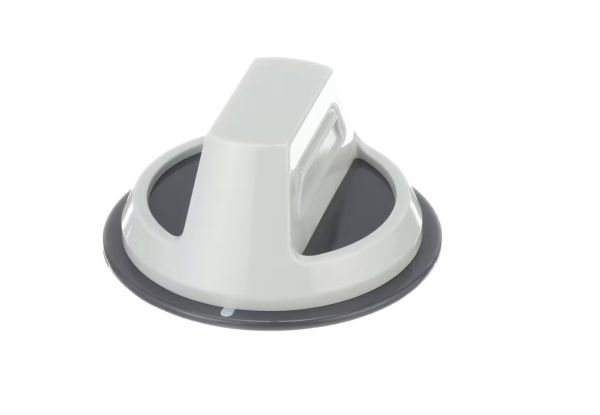
The Speed Queen 803168P Dryer Knob W/Skirt Assembly is used to select and adjust drying settings on an appliance interface. It forms part of the user control arrangement and connects to the underlying switch or shaft mechanism. Its design allows rotational input, while the skirt provides visual alignment and setting indication around the control dial. The assembly maintains stable control positioning, contributing to proper cycle selection, consistent user input response, and coordinated connection among control interface components within the dryer system.
Step 1: All required tools and materials essential for replacing the 803168P Speed Queen Dryer Timer Knob are to be assembled. This may consist of a Phillips screwdriver, pliers, a new timer knob, and a flashlight.
Step 2: The Speed Queen dryer timer knob situated on the front of the dryer is to be located. It is usually positioned near the upper section of the control panel.
Step 3: The dryer is to be disconnected from the power source.
Step 4: The two screws fastening the timer knob to the control panel are to be taken out utilizing a Phillips screwdriver.
Step 5: The timer knob is to be gently removed from the control panel by pulling it off with your fingers or employing pliers if necessary.
Step 6: The interior of the control panel is to be examined to find the new timer knob and ensure there are no damages or debris that may obstruct the installation.
Step 7: The new timer knob is to be positioned correctly and fastened with the screws.
Step 8: The dryer is to be reconnected to the power source and the functionality of the timer knob is to be verified to ensure it operates correctly.
Please note that these instructions are to serve as general guidance and should always be referenced alongside the manufacturer's manual, if one is available.