The store will not work correctly in the case when cookies are disabled.
We collect user information to provide a better user experience and protect the security of our website. By continuing to use our website, you acknowledge the use of cookies.
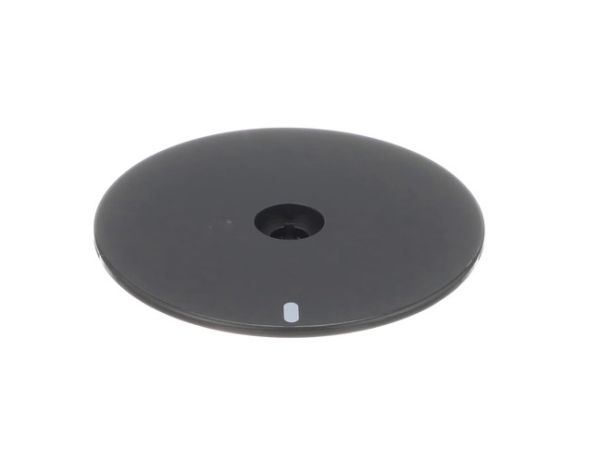
The Speed Queen 803116 Washer Timer Skirt Assembly supports and secures the control area protective skirt ring that controls the timer knob assembly, reduces dust entry into the control section, and provides a finished mounting surface for the timer control interface. It is installed on the front control panel around the timer shaft, where it interfaces with the panel opening and knob stem through a snap-on or seated fit that holds it firmly in position without affecting timer rotation. Its configuration provides structural support for the control interface and protection for the timer mounting area in regular use.
Step 1: The washer should be disconnected from the power source prior to starting the repair.
Step 2: The two screws that hold the timer skirt assembly at the bottom of the unit should be taken out using a Phillips head screwdriver.
Step 3: The panel covering the timer skirt assembly should be detached by raising it and then pulling it away from the washer.
Step 4: The screws or bolts that fasten the top of the timer skirt assembly to the washer should be removed.
Step 5: The timer skirt assembly should be extracted and disconnected from the wiring harness.
Step 6: The new timer skirt assembly should be placed by reconnecting the wiring harness and fastening the assembly in the same way as the old one.
Step 7: The panel over the timer skirt assembly should be reinstalled by aligning the holes and securing it with the screws.
Step 8: The timer skirt assembly should be fastened with the two screws at the bottom of the washer before the power cord is reconnected to the outlet.
Step 9: The washer should be operated to verify that it is functioning correctly and that the timer skirt assembly is secure.
Following these straightforward steps should assist you in successfully replacing your 803116 Speed Queen Washer Timer Skirt Assembly. As with any DIY project, it should ensure that the proper replacement part and required tools are available before starting this repair. Best of luck!
Please remember that these instructions should serve as general guidance and should always be utilized in conjunction with the manufacturer's manual, if available.