Please, mind that only logged in users can submit questions
Installation Steps
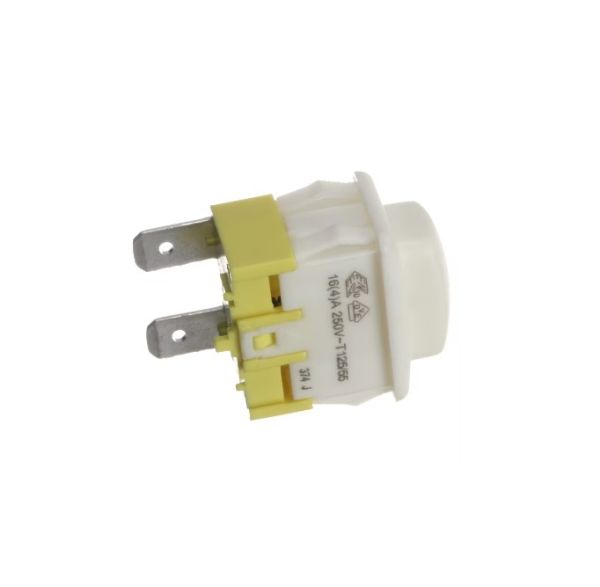
Step 1: The essential tools and materials required for replacing the Speed Queen 801434W SWITCH, PUSH-TO-START are to be collected. This set includes a new switch, a Phillips head screwdriver, wire cutters, and needle-nose pliers.
Step 2: The washing machine is to be disconnected from its electrical outlet and the water supply is to be shut off.
Step 3: The control panel of the washing machine is to be taken off to reach the switch. The Phillips head screwdriver is to be utilized to remove the screws securing the control panel.
Step 4: After the control panel is detached, the faulty switch that requires replacement is to be located.
Step 5: The wire cutters are to be used to snip any wires linked to the faulty switch.
Step 6: The defective switch is to be extracted from its socket using the needle-nose pliers.
Step 7: The new switch is to be placed into the vacant socket and fastened with the Phillips screws. It is to be ensured that the switch is properly seated within the socket.
Step 8: Any wires that were disconnected from the faulty switch are to be reattached to the new switch, ensuring the connections are secure.
Step 9: The control panel is to be reinstalled and secured with the Phillips screws.
Step 10: The washing machine is to be reconnected to its power source and the water supply is to be turned back on. The switch is to be tested to confirm it operates correctly.
Step 11: Any debris resulting from the repair is to be cleared away.
Please be aware that these instructions are to serve as general guidance and should always be referenced alongside the manufacturer's manual, if available.