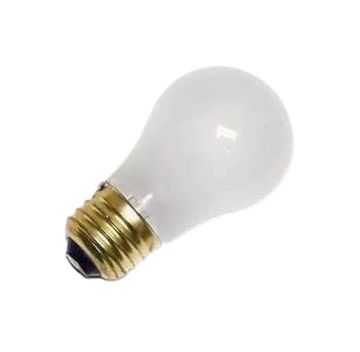
Whirlpool 8009 Range Light Bulb 40W 120 Volt
Special Price
$7.32
Regular Price
$14.20
In stock
Available Quantity:
216
SKU
8009
Product Description
The Whirlpool 8009 Range Appliance Light Bulb is designed to light ovens and stovetops and uses 40 watts and 120 volts. Intended for use in high-temperature areas, it screwed into compatible sockets and provides constant and intense light. The light bulb within the cooktop produces light when an electric current is passed through the filament to provide adequate lighting while cooking. The light is clear and bright to help the cooks be more accurate and the installation is simple for quick maintenance.
Bulb,
Manufacturer
