Step 1: The power supply to the circuit that the U-Line 80-54377-00 overload/relay safeguards must be disconnected. This action will shield you from the risk of electrical shock during the replacement task.
Step 2: The screws securing the overload/relay in its position must be taken out. The number of screws may vary based on the installation setup. After all screws are detached, the overload/relay can now be extracted from the panel.
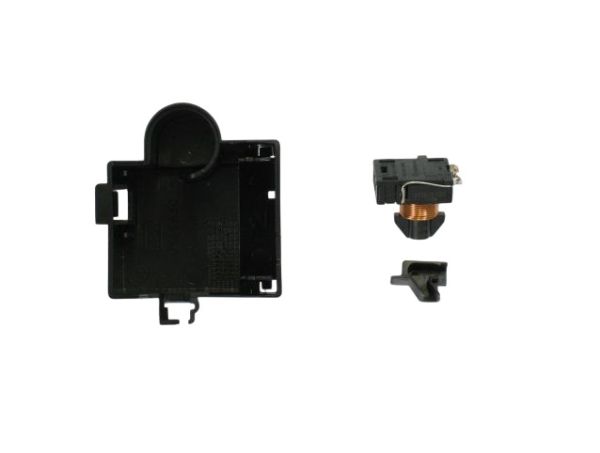
Step 3: The old relay must be examined for any indications of damage or corrosion. Should any evidence of deterioration or rust be found, the relay must not be reused and should be replaced.
Step 4: The new relay must be attached to the panel in the same manner as the previous one was connected. It must be ensured that all connections are tight and the relay is correctly positioned within the panel.
Step 5: A multimeter must be employed to verify all connections, checking for shorts or any other issues that could lead to complications.
Step 6: After confirming that all connections are operational, power must be restored to the circuit. It must be verified that the new relay operates correctly.
Kindly note, these instructions serve as general guidance and should always be utilized alongside the manufacturer's manual, if accessible.