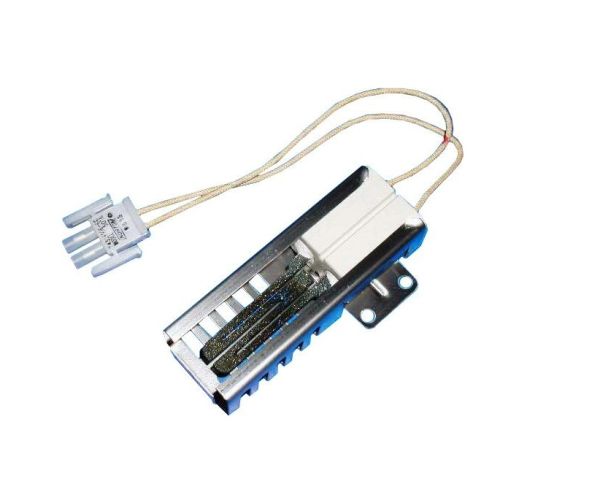
Whirlpool 74007498 Oven Igniter
Special Price
$22.48
Regular Price
$35.37
In stock
Available Quantity:
47
SKU
74007498
Product Description
The Whirlpool 74007498 Range Burner Igniter work by producing a spark that ignites the gas to ensure fast and safe combustion. Its specific purpose is to enhance energy effectiveness because the system does not require frequent ignition. This replacement part helps the burner to work correctly, making cooking more efficient. It is a useful solution for fixing the problem of faulty ignition and helps in maintaining an even heat for better cooking and longer durability of the range.
Manufacturer
