Please, mind that only logged in users can submit questions
Installation Steps
Step 1: The LG microwave should be disconnected from the power outlet. It should ensure that the appliance is entirely detached from any electrical source prior to starting the task.
Step 2: The upper part of the microwave's interior should be inspected to find the access panel. A Phillips-head screwdriver should be employed to remove the four screws securing the panel, then it should be detached and set aside.
Step 3: At this point, the Halogen Lamp Light Bulb should be able to be viewed. The bulb's placement and its connection to the wiring should be observed before moving forward.
Step 4: An insulated electrical tool should be utilized to disconnect the wiring from the existing bulb. Each wire should be carefully loosened, ensuring none of them come into contact with each other during this step.
Step 5: A pair of long-nose pliers should be grabbed to take out the old bulb from the microwave's interior. Caution should be exercised to avoid breaking the bulb or harming oneself while handling it.
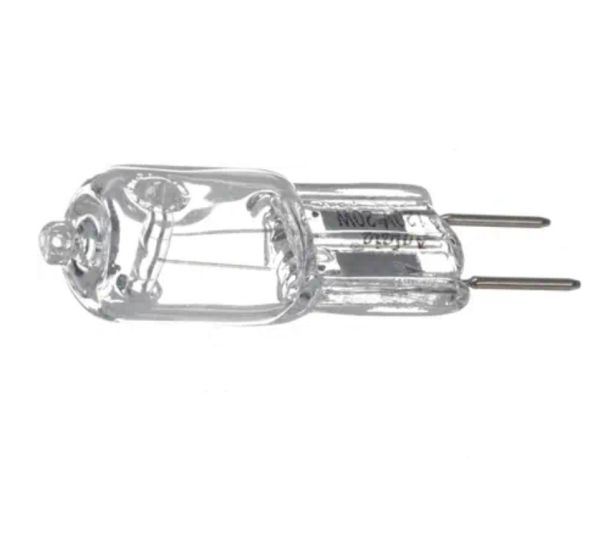
Step 6: The new 6912A40002E LG Halogen Lamp Light Bulb should be taken and inserted into the socket, ensuring it is oriented the same way as the previous bulb.
Step 7: With the insulated electrical tool, the wiring should be reconnected to the newly installed bulb. It should be confirmed that the wiring follows the original configuration.
Step 8: The top panel should be repositioned onto the microwave and secured with the four screws.
Step 9: The microwave should be plugged back in, turned on, and the new bulb should be checked to confirm it is functioning correctly.
Please remember, these instructions should serve as general guidance and should always be used alongside the manufacturer's manual, if available.