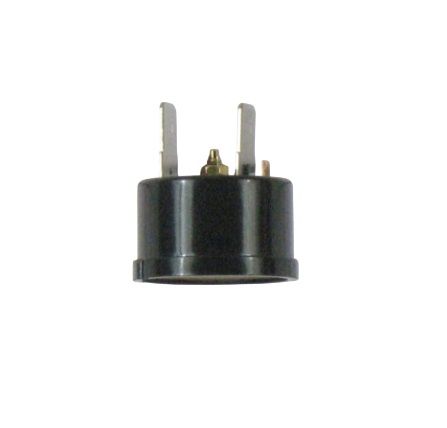
LG 6750CL0001D Refrigerator Compressor Overload Protector
Special Price
$16.28
Regular Price
$27.61
In stock
Available Quantity:
5
SKU
6750CL0001D
Product Description
OVERLOAD PROTECT
Manufacturer

✓ This Product Replaces:
MRA12325-9201