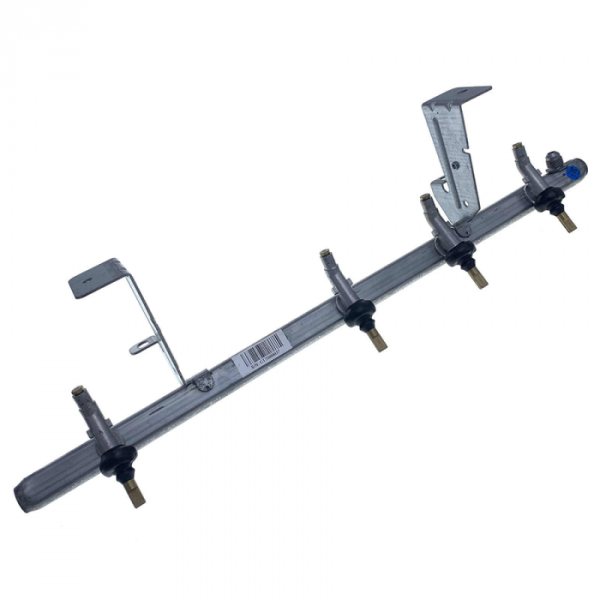
Weber 67459 Grill Liquid Petroleum Manifold Assembly Genesis II 2019

Special Price $157.72 Regular Price $161.95
In stock
Available Quantity:   2
SKU
67459

Product Description

The Weber 67459 Liquid Petroleum Manifold Assembly is used to regulate the flow of gas to the Genesis II 2019 grill for efficiency. This manifold assembly control and directs propane from the tank to the burners using accurately designed gas outlets. It operates by regulating the pressure and the flow of fuel in a controlled manner to ignite the fuel in a balanced manner and distribute heat in the same manner.
https://www.hnkparts.com/media/catalog/product/6/7/67459_weber-stephen-products_hnkparts.png
Manufacturer Name: WEBER-STEPHEN PRODUCTS
Product Number: 67459
OEM Part Number: 67459
Product Description: Lp Manifld Asm Genesisii 2019

Choose the best Home Appliance parts and supplies from HnKParts!

  • Same Day Shipping

  • Best Quality And Best Price

  • Wide Range of Inventory

  • Best Customer Service

Have More Questions or Need Help to Place The Order?
Reach us at (866)723-0907 or [email protected]

Write Your Own Review
You're reviewing:Weber 67459 Grill Liquid Petroleum Manifold Assembly Genesis II 2019
Your Rating
Customer Questions
What maintenance is required for the Weber 67459 Grill Liquid Petroleum Manifold Assembly?

Regularly check the manifold for grease buildup and wipe it clean with a damp cloth. Inspect for leaks at connections and tighten fittings as needed. Ensure burners are aligned properly, and avoid using harsh chemicals that could damage the assembly.

What are common issues with the Weber 67459 Grill Liquid Petroleum Manifold Assembly?

  • Gas leaks due to loose or damaged connections.
  • Uneven flame distribution or weak burners.
  • Cracks or corrosion in the manifold.
  • Difficulty igniting burners or inconsistent heating.

Installation Steps

Step1: Turn off gas and disconnect the propane tank before starting for safety.

Step2: Remove grates and control knobs.

Step3: Unscrew the old manifold from the burner valves and detach fittings.

Step4: Align the new manifold with valve stems, ensuring proper fit.

Step5: Secure the screws and reconnect the gas line tightly.

Step6: Perform the leak test with soapy water before use.

Step7: Ensure all connections are checked for gas leaks and tightened.