The store will not work correctly in the case when cookies are disabled.
We collect user information to provide a better user experience and protect the security of our website. By continuing to use our website, you acknowledge the use of cookies.
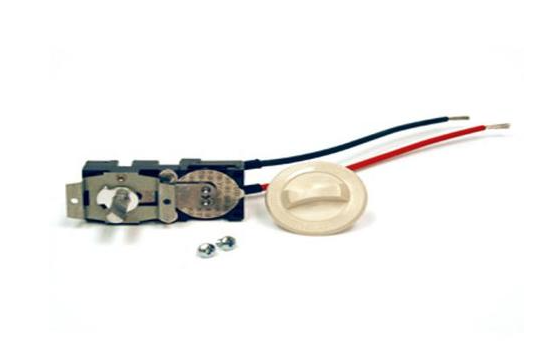
Step 1: The cover of the Cadet Manufacturing 67065 Cadet Thermostat should be taken off. This should be accomplished by utilizing the flathead screwdriver to loosen the screws located on the side of the thermostat. After the screws are loosened, the cover should be gently removed and placed aside.
Step 2: The wires should be unplugged from both terminals of the Cadet Manufacturing 67065 Cadet Thermostat. This can be performed by using the needle-nose pliers to hold the wire ends and carefully pulling them away from the thermostat's back.
Step 3: The wire strippers should be used to expose the ends of the wires and they should be reconnected to the new thermostat according to the manufacturer's instructions. It should ensure that the wire colors are aligned correctly before they are secured.
Step 4: The cover of the new thermostat should be attached back onto the wall. The Phillips head screwdriver should be employed to tighten the screws until the cover is firmly secured.
Step 5: Power should be restored at the breaker panel and the functionality of the new Cadet Manufacturing 67065 Cadet Thermostat should be checked. It should be confirmed that it is operating correctly and that the temperature is appropriately set.
The Cadet Manufacturing 67065 Cadet Thermostat has now been successfully swapped out! Congratulations! The ease and comfort of your new thermostat can now be enjoyed.
Please remember, these instructions are intended for general reference and should always be utilized alongside the manufacturer's manual, if accessible.