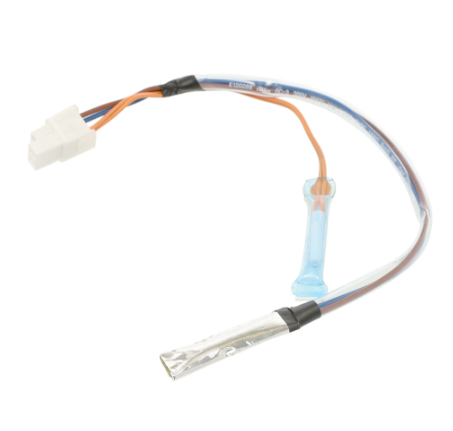
LG 6615JB2005N Refrigerator Controller Assembly
Special Price
$15.38
Regular Price
$27.61
In stock
Available Quantity:
23
SKU
6615JB2005N
Product Description
CONTROLLER ASSY
Manufacturer
