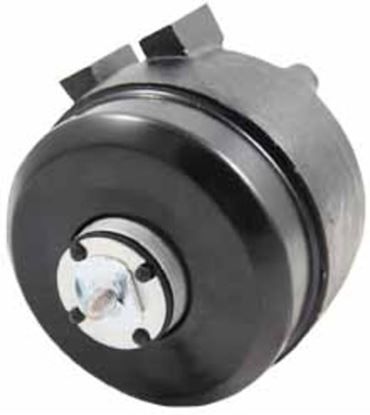
Packard 65111 Refrigerator Fan Motor 2.5 Watt 115 Volt
Special Price
$68.28
Regular Price
$89.36
In stock
Available Quantity:
11
SKU
65111
Product Description
The Packard 65111 Refrigerator Fan Motor 2.5 Watt 115 Volt pushes the air inside the appliance compartment to ensure even the distribution of temperature. It is attached to the back of the evaporator or the inner wall of the rear and is powered by the electrical system of the appliance by a two-wire power harness and mounting brace. The motor is synchronized with the evaporator fan, thermostat, and control board to control the airflow, avoid frost formation and connect with the cooling cycles. It supports normal refrigerator functioning by ensuring that airflow, temperature and system performance remain unchanged during cooling and defrost periods.
Manufacturer

✓ This Product Replaces:
EM5113, UEM1025, EM5111, 4200741, 3150890, 7006413