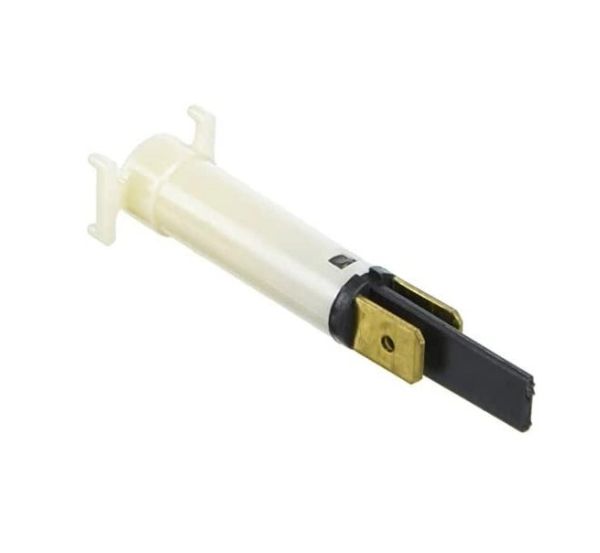
Bertazzoni 608047 Range Small Warning Light
Special Price
$5.50
Regular Price
$5.95
In stock
Available Quantity:
1
SKU
608047
Product Description
SMALL WARNING LIGHT
Manufacturer