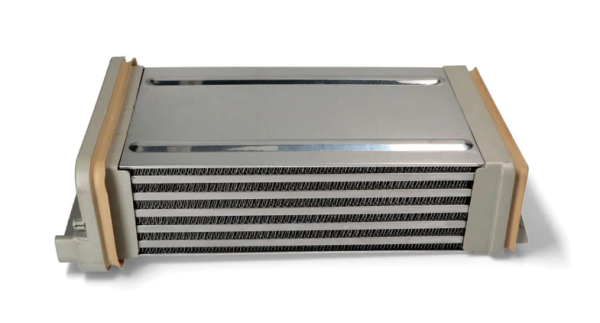
LG 5403EL1001D Dryer Condenser Assembly
Special Price
$234.34
Regular Price
$290.95
In stock
Available Quantity:
17
SKU
5403EL1001D
Product Description
The LG 5403EL1001D Dryer Condenser Assembly effectively captures moisture from the hot air that is used in the drying process, for improving efficiency. The hot air that is generated in the drum has to pass through the condenser to remove moisture and collect it to avoid excessive humidity. This mechanism is useful in ensuring that there is uniformity in drying and minimizing the wastage of energy. Made to be durable, it allow for proper air circulation, which make drying much quicker and more efficient. It help in the prevention of accumulation of lint and moisture within the unit, which helps in the conservation of internal parts.
Manufacturer
