The store will not work correctly in the case when cookies are disabled.
We collect user information to provide a better user experience and protect the security of our website. By continuing to use our website, you acknowledge the use of cookies.
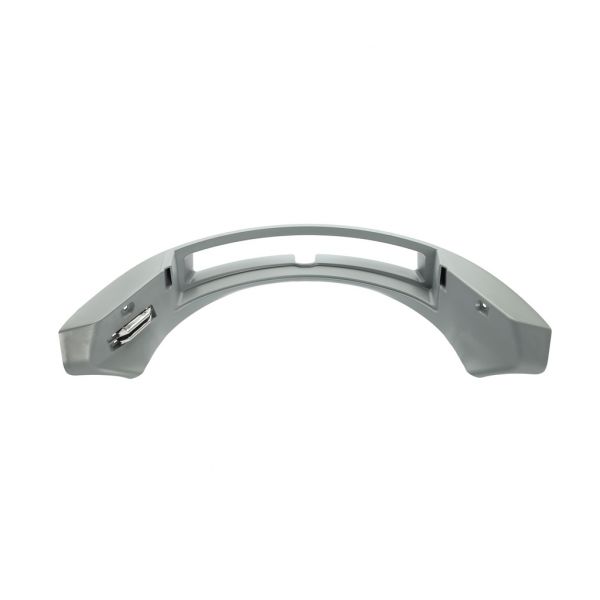
The Frigidaire 5304534451 Dryer Lint Filter Kit collects the lint and debris of clothes in drying cycles in the appliance. The kit has a filter and a housing that can be fitted in the compartment of the dryer, where they fit well and allow the free flow of air and avoid clogs in the vent system. It aids in increasing drying performance, minimizing the risk of fire, and improving efficiency through efficient air circulation. It provides sound functionality, is simple to maintain and ensures the functioning of the dryer.
What maintenance is required for the Frigidaire 5304534451 Lint Filter Kit?
Regularly remove and clean the lint filter after each drying cycle to prevent buildup. Wash with mild soap and water to remove residue. Proper maintenance ensures efficient airflow, reduces fire risks, and helps the dryer operate safely and effectively.
What are common issues with the Frigidaire 5304534451 Lint Filter Kit?
Lint filter clogging or reduced airflow.
Torn or damaged mesh screen.
Improper fit causing lint bypass.
Warping or cracking of the frame.
Excess lint accumulation inside the dryer.
Installation Steps
Step1: Unplug dryer and ensure drum is cool before starting. Open the lint filter housing and remove the existing lint screen assembly.
Step2: Inspect the slot for trapped lint or debris and clean it thoroughly to maintain airflow and fire safety.
Step3: Insert the new lint filter kit into place until it fits securely and aligns properly.
Step4: Reassemble housing, restore power, and run a short cycle to confirm proper installation and airflow performance.