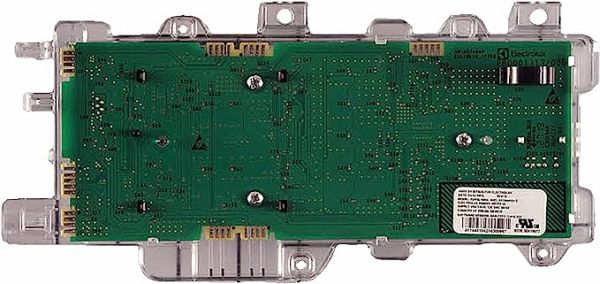
Frigidaire 5304523183 Dryer Control Board UI Assembly
Special Price
$130.25
Regular Price
$176.91
In stock
Available Quantity:
85
SKU
5304523183
Product Description
The Frigidaire 5304523183 Dryer Control Board UI Assembly allows for the control the settings of the dryer. It interfaces with other parts to regulate the cycle time, heat level and drying mode. The working process entails the reception of input from the user and the transmission of signals to the dryer’s system for proper functioning.
Manufacturer

✓ This Product Replaces:
5304515784, 5304513784, 5304521423, 5304529306