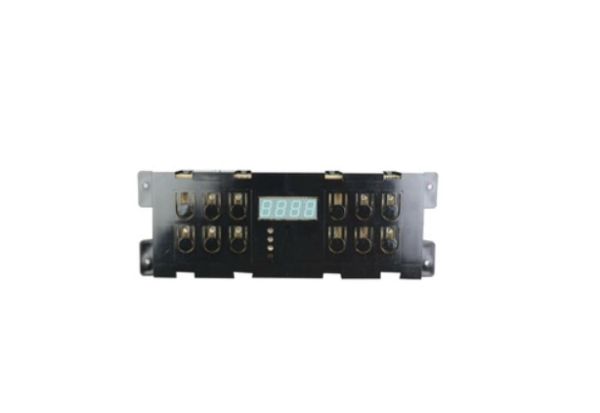
Frigidaire 5304514107 Range Control Board
Special Price
$89.75
Regular Price
$153.39
In stock
Available Quantity:
61
SKU
5304514107
Product Description
The Frigidaire 5304514107 Range Controller controls the temperature and other powers. This controller works by regulating the electricity supply to the range to allow the right heat for cooking at all times. It also works in conjunction with the heating elements of the oven to keep the temperature of cooking at the desired level. It is easy to install and has a long-lasting construction that ensures it operates at it better and also lasts longer than most appliances. The controller is also useful in maintaining the required level of cooking accuracy.
Manufacturer