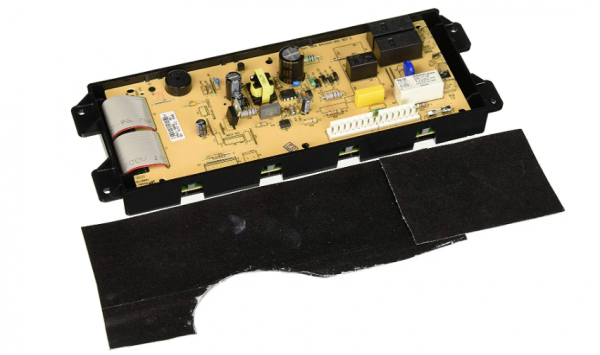
Frigidaire 5304509493 Range Clock Control Board
Special Price
$92.36
Regular Price
$136.86
In stock
Available Quantity:
40
SKU
5304509493
Product Description
The Frigidaire 5304509493 Range Clock Control Board is responsible for controlling the operations of the oven through the use of clock control. It controls the heating cycles of the oven, sets time, and controls the periods of time that the temperature changes. It includes the monitor switch which is normally closed and provides the stability of the circuit.
Manufacturer

✓ This Product Replaces:
316557115