
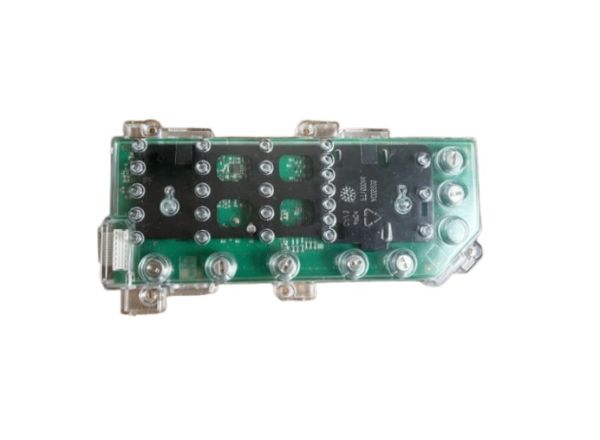
Frigidaire 5304505611 Washer User Interface Board Assembly

Special Price $138.51 Regular Price $152.95
Out of stock
Available Quantity:   0
SKU
5304505611

Product Description

The Frigidaire 5304505611 Washer User Interface Board Assembly is a component of the system that operates the functions of the cleaning by processing user inputs and sending signals to the main control system. It works with the cycle choices and commands to operate the machine appropriately. It is located on the panel of the appliance.
Manufacturer

https://www.hnkparts.com/media/catalog/product/5/3/5304505611-47918.jpg
Manufacturer Name: FRIGIDAIRE
Product Number: 5304505611
OEM Part Number: 5304505611
Product Description: Ui Board Assy

Choose the best Home Appliance parts and supplies from HnKParts!

  • Same Day Shipping

  • Best Quality And Best Price

  • Wide Range of Inventory

  • Best Customer Service

Have More Questions or Need Help to Place The Order?
Reach us at (866)723-0907 or [email protected]

Write Your Own Review
You're reviewing:Frigidaire 5304505611 Washer User Interface Board Assembly
Your Rating
Customer Questions
What maintenance is required for the Frigidaire 5304505611 User Interface Board Assembly?

Keep the washer control board area clean and dry to prevent moisture from damaging the electronic components. Periodically inspect wiring connections for looseness or corrosion and ensure they are securely attached. Proper handling and protection supports maintain accurate operation and reduce the risk of electronic failure.

What are common issues with the Frigidaire 5304505611 User Interface Board Assembly?

  • Unresponsive buttons or touch inputs.
  • Display not lighting up or showing errors.
  • Intermittent or failed communication with main control board.
  • Random resets or cycling issues.
  • Faulty indicators or incorrect cycle selection signals.
  • Complete interface failure due to electrical damage or component wear.

Installation Steps

Step1: Disconnect washer power and shut off water supply before starting.

Step2: Remove top console or control panel cover to access the existing user interface board.

Step3: Carefully disconnect ribbon cables and mounting screws from the old board assembly area.

Step4: Install the new board, reconnect all harnesses securely, and ensure proper seating.

Step5: Reassemble panel, restore power, and run a test cycle to confirm all controls respond correctly.