
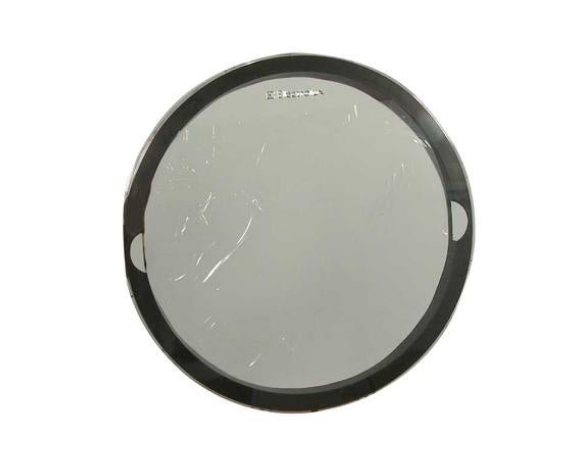
Frigidaire 5304504999 Dryer Door Glass

Special Price $93.66 Regular Price $110.95
In stock
Available Quantity:   27
SKU
5304504999

Product Description

The Frigidaire 5304504999 Dryer Door Glass provides a clear glass window enabling one to look inside the drying cycle without breaking a vacuum seal. It is mounted to the middle of the dryer door, well in place in the door frame. It ensures effective drying operation and safe operation by holding heat and allowing no lint or moisture to escape. Its position provides a high level of visibility, proper insulation and functionality, making it and stable in general.
Dryer Parts, Door Assembly,
Manufacturer
https://www.hnkparts.com/media/catalog/product/5/3/5304504999_frigidaire_hnkparts.png
Manufacturer Name: FRIGIDAIRE
Product Number: 5304504999
OEM Part Number: 5304504999
Product Description: Dryer Door Glass

Choose the best Home Appliance parts and supplies from HnKParts!

  • Same Day Shipping

  • Best Quality And Best Price

  • Wide Range of Inventory

  • Best Customer Service

Have More Questions or Need Help to Place The Order?
Reach us at (866)723-0907 or [email protected]

Write Your Own Review
You're reviewing:Frigidaire 5304504999 Dryer Door Glass
Your Rating
Customer Questions
What maintenance is required for the Frigidaire 5304504999 Door Glass?

Regularly wipe the dryer door glass with a soft, damp cloth to remove lint and detergent residue. Inspect for cracks or chips and avoid slamming the door. Proper cleaning ensures clear visibility and prevents debris buildup that could affect dryer operation.

What are common issues with the Frigidaire 5304504999 Door Glass?

  • Cracks or chips in the glass.
  • Loose or misaligned door fit.
  • Difficulty closing the dryer door.
  • Scratches that obscure visibility.

Installation Steps

Step1: Unplug the dryer and wear safety gloves to prevent injury.

Step2: Remove door assembly screws and carefully detach inner panel.

Step3: Take out old glass, clean gasket area thoroughly.

Step4: Align new glass, secure with clips or screws firmly.

Step5: Reassemble door, tighten screws, restore power, and test seal.

Step6: Ensure door is properly aligned before final tightening to avoid air leaks.

Step7: After installation, run a short cycle to confirm secure fit and safe operation.