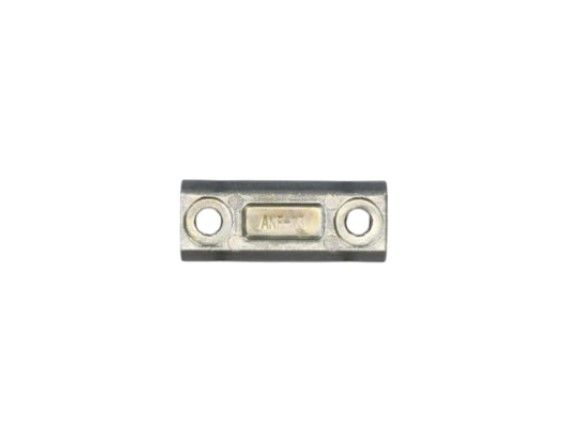
Frigidaire 5304504279 Refrigerator Handle Mounting Block
$15.34
In stock
Available Quantity:
89
SKU
5304504279
Product Description
M BLOCK-HANDLE MTG
Manufacturer