The store will not work correctly in the case when cookies are disabled.
We collect user information to provide a better user experience and protect the security of our website. By continuing to use our website, you acknowledge the use of cookies.
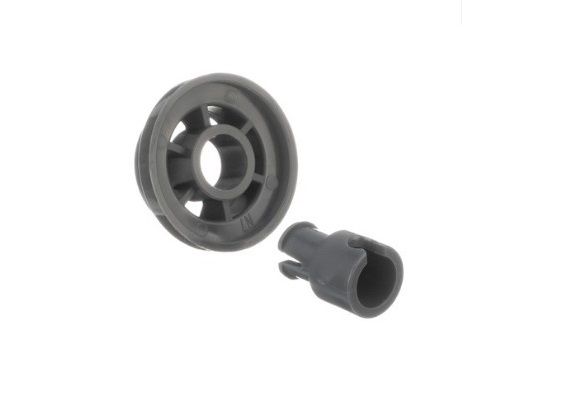
The Frigidaire 5304475625 Dishwasher Lower Rack Wheel Assembly is used to enable controlled movement of the lower dish rack within the system. It reduces friction between the rack frame and tub rails, allowing controlled in-and-out sliding motion during loading and unloading cycles. It is installed on the underside of the lower rack assembly where it interfaces with rack mounting clips and guide rails. It provides stable load support and aligned rack travel in the dishwasher track system by maintaining smooth rack mobility and consistent dishwasher performance during wash operation.
Step 1: All essential tools and materials required for the installation of the 5304475625 Frigidaire Wheel Assembly should be collected. This will consist of a flathead screwdriver, Phillips head screwdriver, gloves, and the new wheel assembly.
Step 2: The power supply to the appliance should be cut off by either disconnecting it from the outlet or switching off the breaker.
Step 3: Any covers that shield the current wheel assembly should be taken off. Depending on your Frigidaire model, this might be a housing cover or a protective casing.
Step 4: All screws securing the existing wheel assembly should be extracted with the flathead or Phillips head screwdriver.
Step 5: The current wheel assembly should be withdrawn and disposed of, as it is no longer required.
Step 6: The new wheel assembly should be inserted into the opening and the screwdriver should be utilized to fasten it in position with the screws that were extracted from the previous assembly.
Step 7: Any protective casings or covers that were removed earlier in the procedure should be reattached.
Step 8: The appliance should be reconnected to the power source or the breaker should be switched back on, and the new wheel assembly should function correctly.
Please remember that these instructions are served as general guidance and should always be used alongside the manufacturer's manual, if available.