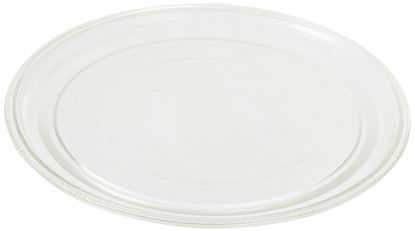
Frigidaire 5304440285 Microwave Glass Turntable Plate
Special Price
$65.32
Regular Price
$78.95
Out of stock
Available Quantity:
0
SKU
5304440285
Product Description
The Frigidaire 5304440285 Microwave Glass Turntable Plate aids in even heating food by spinning the food over the energy field. It is placed on the central drive coupling and roller ring that enables it to move steadily in operation. The tempered glass surface provides a flat surface that supports frequent temperature fluctuation. It allows equal exposure, eliminating hot spots and enhancing up to the maximum variety of dish sizes, active cooking, reheating, and defrosting.
Manufacturer