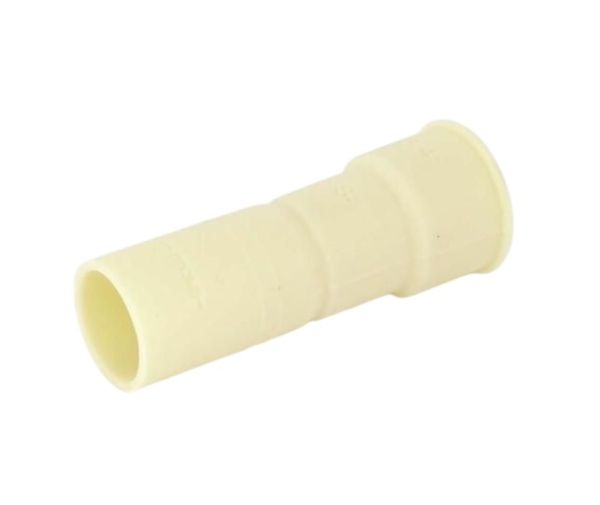
Fisher & Paykel 529075 Dishwasher Drain Hose Joiner Single
$9.40
In stock
Available Quantity:
9
SKU
529075
Product Description
JOINER DRAIN HOSE SGL US
Manufacturer