The 
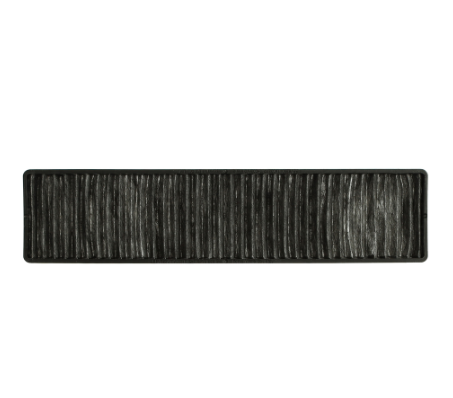
LG 5230W1A003A Microwave Charcoal Filter used to filter out the smoke, odors, and greasy smells in the kitchen. It operate in a manner that involves the use of activated charcoal to capture the particles in the air and eliminate bad odors. When air pass through the filter the charcoal traps the impurities and provides better quality air circulation. This assist in keeping the cooking area clean and increases the longevity of the microwave.
Please, mind that only logged in users can submit questions
Installation Steps
Step 1: Extract Current Filter.
Depending on your specific model, the installation may differ, but typically the charcoal filter is resided within the microwave's frame, situated behind the removable vent grille. A screwdriver or small pry bar should be gently utilized to detach any screws that may be securing the filter. After the screws are taken out, the old filter should be removed.
Step 2: Sanitize Interior.
A paper towel should be employed to clean the interior of the microwave and the area surrounding the filter opening. This will assist in eliminating any accumulation that may have been formed over time due to the steam and heat produced by the oven.
Step 3: Position New Filter.
The new filter should be aligned so the slots correspond with the grille. The filter should be carefully placed and ensured to be securely positioned at the back of the grille.
Step 4: Reattach Grille.
After the filter is firmly in position, the grille should be reattached by reinserting any screws that were removed. Confirmation that the grille is adequately secured to prevent the filter from becoming loose should be made.
Step 5: Verify Correct Installation.
To confirm that the filter is correctly installed, the oven should be powered on and the door opened. This will allow for checking for any obstructions to airflow. If everything functions as expected, the oven should be closed, and you’re finished!
By following these straightforward steps, your LG Microwave Charcoal Filter, 5230W1A003A, can be effectively and safely replaced.
Please remember, these guidelines are intended for general assistance and should always be referenced alongside the manufacturer's manual, if it is available.