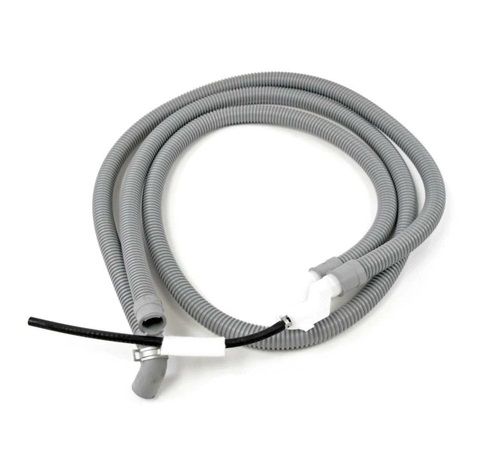
LG 5215ER2002W Washer Drain Hose Assembly
Special Price
$73.14
Regular Price
$81.25
In stock
Available Quantity:
193
SKU
5215ER2002W
Product Description
The LG 5215ER2002W Washer Drain Hose Assembly effectively drains the wastewater to enhance the drainage process during the washing process. It connects to the washer’s pump which pumps used water to the drain. It is strong and elastic, does not deform under pressure, and does not allow water to leak or clog. This hose increases the efficiency of washers and minimizes the chances of water spillage.
Manufacturer

✓ This Product Replaces:
5215ER2002X, AEM74772901